So, your website has gone a bit wonky? Maybe it’s acting strange, showing weird ads, or even worse, Google has put up a big red warning sign. It happens. Dealing with website malware removal can feel like a huge headache, but honestly, it’s not the end of the world. Think of it like finding a leaky pipe in your house – annoying, but fixable. This guide is here to walk you through getting your site cleaned up and back to normal, step-by-step. We’ll cover what to do right away, how to find the nasty stuff, get rid of it, and make sure it doesn’t sneak back in.
Key Takeaways
- When your website gets infected, the first thing to do is stop it from spreading further. This means taking it offline temporarily and changing all your passwords.
- Finding the malware is the next big step. You can use security plugins, online scanners, or dig through server logs and files yourself.
- Getting rid of the malware can be done automatically with plugins, by hiring professionals, or by carefully cleaning out the bad code and files yourself.
- After cleaning, it’s super important to replace any files that were messed with and fix the security holes that let the malware in, like updating everything.
- If Google or other search engines flagged your site, you’ll need to ask them to check it again after you’ve cleaned everything up.
Initial Steps for Website Malware Removal
Okay, so your website got hit with malware. It happens, and honestly, it can feel pretty overwhelming at first. But don’t just sit there and panic. The first thing you need to do is stop the bleeding, so to speak. Think of it like putting out a small fire before it engulfs the whole house.
Contain the Incident
Before you even think about cleaning anything, you’ve got to stop the malware from spreading or causing more damage. This means acting fast to limit its reach. Your immediate goal is to protect your visitors and prevent further compromise.
Here’s a quick rundown of what to do right away:
- Put your site in maintenance mode: This stops new visitors from landing on a potentially infected site and prevents the malware from spreading further through user interactions.
- Take a complete backup: Seriously, do this before anything else. Back up both your website files and your database. If things go south during the cleanup, this backup is your safety net. Keep this backup offline and secure.
- Change all your passwords: This is non-negotiable. Update passwords for your hosting account, FTP/SSH access, database, and all administrator accounts within your website’s content management system (CMS).
- Notify your hosting provider: If you’re on shared hosting, let them know what’s going on. They might be able to help isolate your account or provide insights from their end.
Remember, these steps are about damage control. They don’t fix the underlying problem, but they buy you time and prevent things from getting worse while you figure out the next steps.
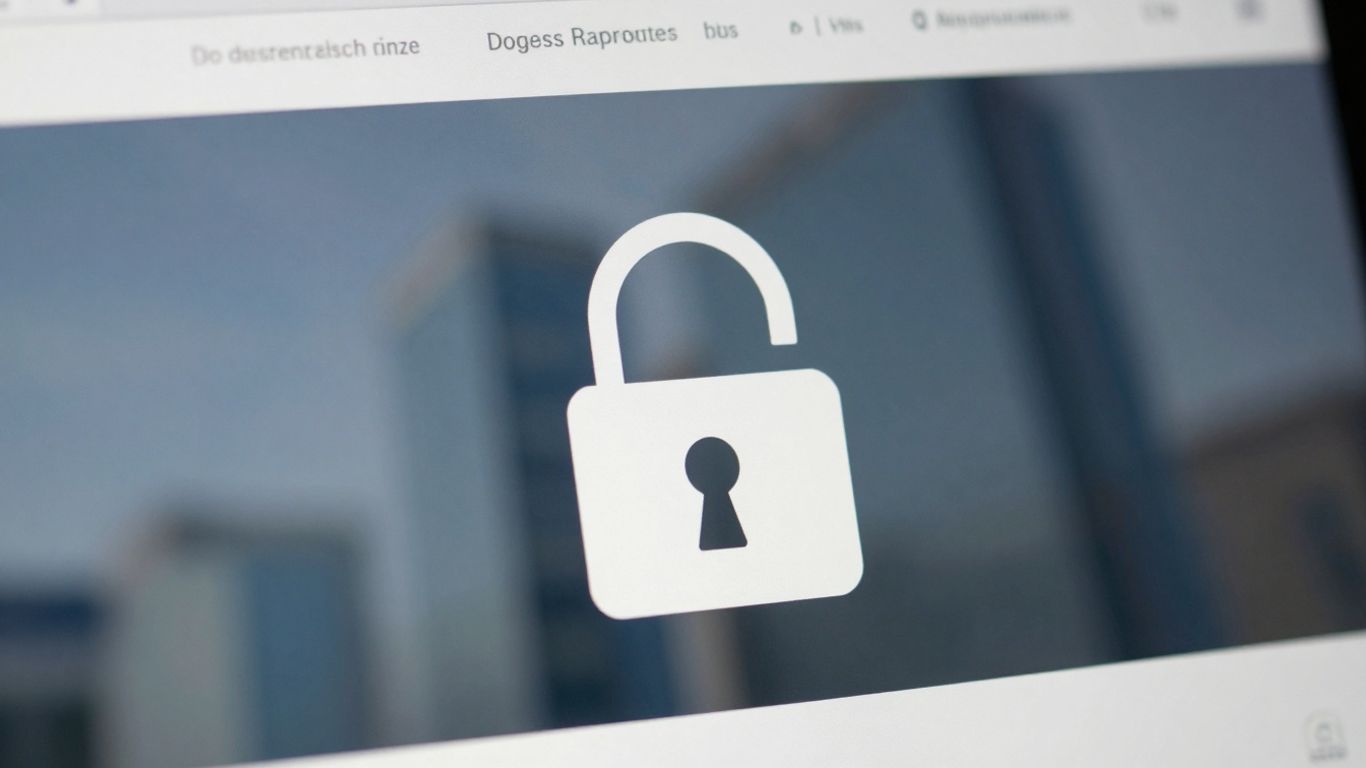
Understand the Signs of Infection
How do you even know you’ve been hacked? Sometimes it’s obvious, like a defaced homepage. Other times, it’s more subtle. Keep an eye out for these common red flags:
- Sudden, unexplained drops or spikes in traffic: A massive increase in visitors that you can’t account for could be bots, or a sign your site is being used for something shady.
- Unexpected pop-ups or redirects: If your site starts showing ads you didn’t put there, or sends visitors to weird websites, that’s a big warning sign.
- Slow website performance: Malware often uses your server resources, making your site sluggish.
- Suspicious emails or notifications: Your hosting provider might email you about malicious files, or you might get warnings from Google Search Console about your site being hacked or showing deceptive content.
- New, unfamiliar admin accounts: Check your user list. If there are accounts you didn’t create, that’s a problem.
- Changes to files you didn’t make: If you notice files have been modified or new ones have appeared without your input, investigate immediately.
Backup Your Website
I know, I just mentioned this under "Contain the Incident," but it’s so important it deserves its own section. A reliable backup is your absolute best friend when dealing with a malware infection. Think of it as an insurance policy for your digital life.
Here’s why it’s critical and what to consider:
- Safety Net: If the manual cleanup process goes wrong, or you accidentally delete something important, you can restore your site to its pre-infection state. This can save you a lot of headaches and potential downtime.
- Potential Quick Fix: If the infection is recent, you might be able to restore a backup from before the malware was introduced. This can sometimes remove the majority of the malicious code instantly. However, remember this doesn’t fix the vulnerability that let the malware in, so you still need to secure your site afterward.
- What to Back Up: Make sure you’re backing up everything – all your website files (including themes, plugins, and uploads) and your entire database. Don’t skip anything.
- Where to Store It: Keep your backup in a safe, separate location, ideally off your web server. Cloud storage or a local drive works well. Don’t rely solely on your hosting provider’s backups, as they might also be affected or have limitations.
Getting this backup done correctly is the foundation for everything that follows. Without it, you’re cleaning with one hand tied behind your back.
Scanning Your Website for Malware
Alright, so your site’s acting weird, maybe it’s sluggish or showing odd pop-ups. The next logical step after figuring out something’s wrong is to actually find the nasty stuff. You can’t really fix what you can’t locate, right? This is where scanning comes in. Think of it like a detective dusting for fingerprints or a doctor running some tests. We need to pinpoint the infection before we can start the cleanup.
There are a few ways to go about this, and honestly, the best method often depends on how comfortable you are poking around your site’s guts. We’ll break down the main approaches: using security plugins, trying out online scanning tools, and the more hands-on manual server log analysis.
Using Security Plugins for Scanning
Security plugins are like having a security guard on duty 24/7. They’re designed to constantly watch over your site. Many of these plugins have built-in scanners that can dig through all your website’s files and even check your database for any suspicious code or files. They’re often pretty good at spotting known malware signatures and can sometimes even flag unusual activity that might be a new, unknown threat. It’s a pretty convenient way to get a thorough scan without needing to be a tech wizard.
- Automatic Scans: Set it and forget it. Most plugins can be scheduled to scan your site regularly, so you don’t have to remember to do it.
- Database Checks: Malware isn’t just in files; it can hide in your database too. Good plugins will scan this critical area.
- Real-time Monitoring: Some advanced plugins offer real-time protection, alerting you the moment something looks off.
Leveraging Online Scanning Tools
If you’re not keen on installing another plugin, or maybe you just want a second opinion, online scanning tools are a good option. These tools work by visiting your website from the outside, much like a regular visitor or a search engine bot would. They then check the publicly visible parts of your site for common malware, suspicious links, or signs of your site being blacklisted. It’s a quick way to get an initial assessment. However, it’s important to know that these tools usually can’t see what’s happening deep within your server or in your database. They’re more like a surface-level check.
Online scanners are great for a quick check, but they often miss hidden threats lurking in your site’s core files or database. Think of them as a helpful first step, not the whole solution.
One popular option is to use a free online scanner like Sucuri’s SiteCheck. Just pop in your website’s address, and it’ll do its thing. It’s a straightforward way to see if any obvious red flags pop up.
Manual Server Log Analysis
This is where things get a bit more technical, and honestly, it’s not for everyone. Manual scanning involves directly accessing your website’s server files and logs. You’re essentially going through your site’s activity records with a fine-tooth comb. You’ll be looking for unusual file modifications, strange entries in server logs that don’t make sense, or unexpected connections to external sites. It requires a good understanding of server environments and how websites work. While it can be very thorough, it’s also time-consuming and carries a risk of accidentally messing something up if you’re not careful. If you’re not super tech-savvy, it’s probably best to stick with the plugin or online tool methods.
- Access Logs: Use FTP or SSH to get to your server’s access and error logs. These files record every request made to your server.
- File Inspection: Look for recently modified files or files with strange names or code that you don’t recognize.
- Database Scrutiny: Check your website’s database tables for any injected malicious content or unusual entries.
Methods for Malware Removal
Once you’ve figured out that your site is indeed infected, the next big question is how to actually get rid of the nasty stuff. It’s not always a straightforward process, and honestly, it can be pretty stressful. Luckily, there are a few different paths you can take, depending on your comfort level with tech stuff and how much time you have.
Automated Malware Removal with Plugins
For many folks, this is the go-to method. Security plugins are designed to do the heavy lifting for you. You install one, and it scans your site, finds the malware, and usually, with just a click or two, it cleans it up. It’s pretty neat because these tools are constantly updated to recognize new threats. Think of it like having a digital exterminator on call. Some plugins even offer a support team if their automated tools can’t quite handle a particularly stubborn infection. It’s a good way to get your site back online quickly without needing to become a coding expert overnight. If you’re using WordPress, there are some solid options out there that simplify the whole WordPress malware removal process.
Professional Malware Removal Services
If you’re not super tech-savvy, or if the malware seems particularly complex and the plugins aren’t cutting it, hiring a professional is a really smart move. These services have dedicated teams who do this for a living. They know all the tricks malware uses to hide. While it might cost a bit more than a plugin, it can save you a ton of headaches and downtime. Plus, they often have a better chance of finding and fixing the root cause, not just the symptoms. It’s like calling in the specialists when your car breaks down in a way you just can’t figure out.
Manual Malware Cleanup Process
This is the route for those who like to get their hands dirty and have a decent understanding of how websites work. It involves digging into your site’s files and database yourself. You’ll be looking for suspicious code, comparing files to clean versions, and carefully removing anything that shouldn’t be there. It takes patience and a sharp eye. You really have to be careful not to delete something important, or you could break your site. It’s definitely the most time-consuming option, and there’s a higher risk of making a mistake if you’re not experienced. But, if done correctly, it can be very thorough.
When attempting a manual cleanup, always, always, always back up your entire site first. Seriously, this is non-negotiable. If you mess something up, a good backup is your only way back to a working site. Don’t skip this step, no matter how confident you feel.
Here’s a quick look at the general steps involved in a manual cleanup:
- Access Server Files: Use FTP, SFTP, or your hosting control panel’s file manager to get into your website’s directory.
- Scan and Identify: Look for recently modified files, unusual code snippets, or files that don’t belong. This often involves comparing your files to known clean versions.
- Database Check: Malware can hide in your database too. You’ll need to inspect tables for suspicious entries or code.
- Remove Malicious Code: Carefully delete the identified malware or replace compromised files with clean ones.
- Verify and Test: After cleaning, thoroughly test your website to make sure everything is working correctly and no malicious code remains.
Manual Malware Identification and Deletion
Alright, so you’ve decided to roll up your sleeves and tackle the malware yourself. It’s definitely doable, but it requires a bit of patience and a careful hand. Think of it like being a detective for your website. You need to find the clues, figure out who did it, and then clean up the mess without breaking anything else.
Accessing Server Files and Logs
First things first, you need to get into your website’s backend. This usually means connecting to your server using FTP, SFTP, or SSH. If you’re not super technical, your hosting provider might have a File Manager in their control panel that you can use. It’s like a file explorer for your website. Once you’re in, you’ll want to look at server logs. These logs can sometimes show unusual activity, like a lot of failed login attempts or strange requests. It’s not always obvious, but it’s a good place to start looking for hints.
Identifying Suspicious Files and Code
This is where the detective work really kicks in. You’re looking for files that have been recently changed, especially around the time you noticed something was wrong. Sometimes, malware hides in plain sight, disguised as legitimate files. You might see weird code snippets added to the beginning or end of files, or even entire files that look out of place. Look for things like unusual function names or strings of characters that don’t make sense. If you’re using a content management system like WordPress, comparing your files to a clean version from the official source can help you spot the differences. It’s a good idea to have a security plugin handy to help identify potential threats.
Cleaning the Website Database
Malware doesn’t just live in files; it can also mess with your website’s database. This is a bit trickier. You’ll typically use a tool like phpMyAdmin, which most hosting providers offer. Before you touch anything, make a backup of your database. Seriously, don’t skip this. Once backed up, you can search for suspicious content, like spammy links or strange code. You might find malicious functions like eval or base64_decode hidden in your database entries. Removing these needs to be done very carefully, as messing up the database can break your entire site.
Be extra cautious when editing your database. A small mistake can lead to significant problems, so if you’re not confident, it’s better to get help. Always, always, always back up before making any changes.
Here’s a quick look at what to watch out for:
- Unusual characters or code: Look for strings that seem out of place.
- Suspicious links: Malware might inject links to malicious sites.
- Recently modified entries: Check timestamps for recent changes.
- Hidden backdoors: Sometimes malware creates ways for attackers to get back in.
Post-Removal Actions and Security Hardening
Okay, so you’ve gone through the messy business of cleaning up the malware. That’s a huge win! But honestly, the job isn’t quite done yet. Think of it like cleaning up after a big party – you’ve got to put things back in order and make sure it doesn’t get trashed again next week. This part is all about making sure your site is locked down tight and ready to go.
Replacing Compromised Files
After you’ve identified and removed the malicious code, it’s super important to put clean versions of your website’s files back in place. Trying to edit out bad code can sometimes leave little bits of the infection behind, which is just asking for trouble. The best bet is to grab fresh copies of your core files from the official source – like downloading a new WordPress package if that’s what you’re using. For themes and plugins, if you downloaded them from legitimate places, reinstall them. Just be careful with configuration files, like wp-config.php for WordPress; you’ll want to check those extra carefully for any injected code before putting them back.
Closing Security Vulnerabilities
This is where we get serious about preventing another break-in. Attackers often get in because of a weak spot, and we need to patch those up. A big one is keeping everything updated. Seriously, out-of-date software is like leaving your front door wide open.
Here’s a quick rundown of what to focus on:
- Update Everything: This means your Content Management System (CMS) core, all your themes, every single plugin, and even the server software itself (like PHP, Apache, etc.). Don’t forget about any other extensions you might have installed.
- Remove Unused Stuff: Got plugins or themes you’re not using? Get rid of them. Each piece of software is a potential entry point, so less is more.
- Strong Passwords & MFA: This is non-negotiable. Use long, complex, and unique passwords for everything – FTP, SSH, database, admin accounts. And if you can, set up Multi-Factor Authentication (MFA) wherever possible, especially for admin logins. It adds a massive layer of security.
- Web Application Firewall (WAF): Think of a WAF as a bouncer for your website. It checks traffic before it even hits your site and can block a lot of malicious attempts automatically.
Making your website secure isn’t a one-time fix; it’s an ongoing process. Regularly reviewing your security measures and staying informed about new threats is just as important as the initial cleanup.
Updating All Software and Plugins
I know, I know, we just talked about updating. But it’s so important it deserves its own section. When you’re reinstalling files, make sure you’re putting the latest versions back. If you had a plugin that was outdated and got exploited, just reinstalling the same old version won’t help. You need to get the newest, patched version. This applies to your CMS core, themes, and all plugins. If you’re using premium themes or plugins, you’ll likely need to download the latest versions directly from the developer’s site and reinstall them manually. It’s a bit of extra work, but it’s way better than dealing with malware again.
Addressing Search Engine Warnings
Requesting a Review from Google Search Console
So, you’ve gone through the whole process of cleaning up your website. That’s a huge relief, right? But wait, there’s one more big step: getting rid of those scary warnings Google might be showing to your visitors. These warnings can really hurt your site’s reputation and drive traffic away. Plus, if you run Google Ads, these warnings can get your account suspended. It’s time to tell Google you’ve fixed things.
First things first, you need to log into your Google Search Console account. If you haven’t set one up yet, you’ll need to do that and verify that the site you’re managing is actually yours. Once you’re in, look for the ‘Security Issues’ section. This is where you’ll find details about why Google flagged your site. After you’ve cleaned everything up, you’ll see an option to ‘Request Review’.
When you submit this request, be thorough. Explain what happened, what steps you took to fix it, and what measures you’ve put in place to prevent it from happening again. Think of it as explaining your homework to the teacher – show your work!
Troubleshooting Rejected Review Requests
Sometimes, Google might reject your first review request. Don’t panic! This usually means they found something you missed, or your explanation wasn’t clear enough. It’s a chance to go back and double-check everything.
Here’s a quick checklist if your review gets rejected:
- Re-scan Everything: Run another full malware scan. Sometimes, malware can hide in tricky places, like your database or theme files. Use both automated tools and manual checks if you can.
- Check All Software: Make sure your CMS (like WordPress, Joomla, etc.), all your themes, and every single plugin are updated to their latest versions. Outdated software is a common entry point for hackers.
- Clear All Caches: Don’t forget to clear your website’s cache, CDN cache, and even your browser cache. Sometimes old, infected code can linger in cached versions.
- Review Server Logs: If you’re comfortable, take another look at your server access and error logs. They can sometimes point to suspicious activity you might have missed.
- Be Detailed in Your Next Request: When you resubmit, be even more specific about the steps you took. Mention any specific files or database entries you cleaned. If you found a backdoor, explain how you closed it.
It’s important to remember that Google wants to keep its users safe. They’ll only remove warnings once they’re confident your site is clean and secure. Patience and thoroughness are key here.
If the problem keeps coming back, or if you’re dealing with something really complex, it might be time to consider bringing in a professional security expert. They have tools and experience that can often find and fix issues that are hard for the average site owner to spot.
Wrapping Up
So, dealing with a hacked website can feel like a real headache, right? It’s definitely not fun. But by following these steps, you can get your site cleaned up and back to normal. Remember to scan thoroughly, remove whatever you find, and then take steps to stop it from happening again. Think of it like fixing a leaky faucet – you fix the immediate problem, but then you also want to figure out why it was leaking in the first place. Keeping your website secure is an ongoing thing, not just a one-time fix. Using tools can really help make this whole process smoother, saving you time and stress. Stay vigilant, keep things updated, and your website will be much safer.
Frequently Asked Questions
How can I tell if my website has been infected with malware?
Watch out for strange signs like your website suddenly slowing down, unexpected pop-up ads appearing, or if search engines like Google start showing warnings about your site. You might also notice files on your server that you didn’t put there, or get emails from your hosting company about suspicious activity.
What’s the quickest way to get rid of malware on my website?
Using a special security tool or plugin designed for websites is usually the fastest and easiest method. These tools can often scan your site and remove the bad stuff with just a few clicks, saving you a lot of time and hassle compared to doing it all by hand.
Is it possible to clean malware from my website myself?
Yes, it is possible to clean malware yourself, but it can be tricky! You’ll need to back up your site first, then carefully look through all your website’s files and database for anything suspicious. It takes time and you need to be careful not to accidentally delete important parts of your site.
What should I do immediately after removing malware from my website?
After cleaning up the malware, it’s super important to update everything! This means updating your website’s main software, all your plugins, and themes. Also, try to figure out how the malware got in and fix that security hole so it doesn’t happen again.
How do I get rid of warnings from Google if my site was flagged for malware?
Once your site is clean, you need to tell Google. Log in to Google Search Console, find the ‘Security Issues’ section, and ask for a review. If they reject it, double-check your site again for any remaining malware, clear your website’s cache, and then ask for the review once more.
Why is it important to back up my website before removing malware?
Backing up your website before you start is like having a safety net. If something goes wrong during the cleaning process, or if you accidentally delete something important, you can always go back to the backup copy and start over. It protects your website’s content and functionality.